
Installing Java on Linux 1.21.4
A step by step guide on how to install Java on Linux.
WARNING
This page is written for version 1.21.4. Documentation for older versions may be incomplete.
This guide will walk you through installing Java 21 on Linux.
1. Check if Java Is Already Installed
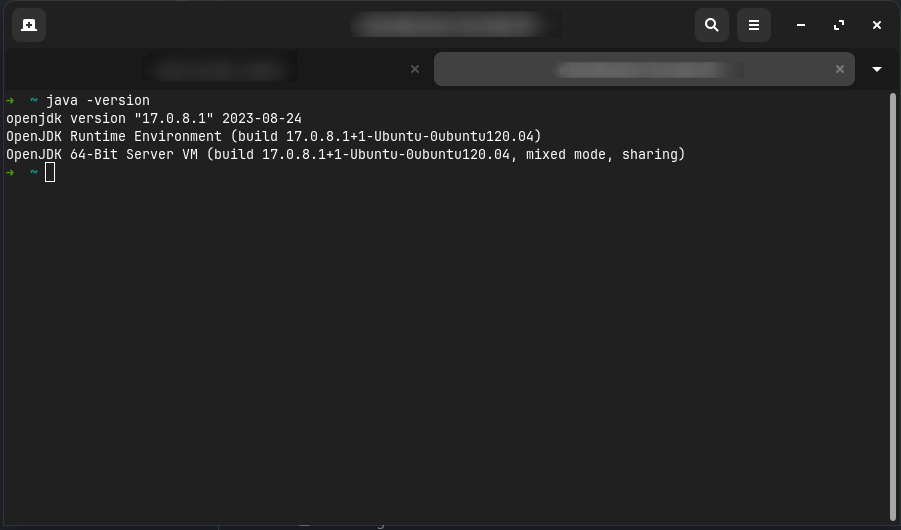
Open a terminal, type java -version, and press Enter.
WARNING
To use Minecraft 1.21, you'll need at least Java 21 installed. If this command displays any version lower than 21, you'll need to update your existing Java installation.
2. Downloading and Installing Java 21
We recommend using OpenJDK 21, which is available for most Linux distributions.
Arch Linux
INFO
For more information on installing Java on Arch Linux, see the Arch Linux Wiki.
You can install the latest JRE from the official repositories:
sh
sudo pacman -S jre-openjdkIf you're running a server without the need for a graphical UI, you can install the headless version instead:
sh
sudo pacman -S jre-openjdk-headlessIf you plan to develop mods, you'll need the JDK instead:
sh
sudo pacman -S jdk-openjdkDebian/Ubuntu
You can install Java 21 using apt with the following commands:
sh
sudo apt update
sudo apt install openjdk-21-jdkFedora
You can install Java 21 using dnf with the following commands:
sh
sudo dnf install java-21-openjdkIf you don't need a graphical UI, you can install the headless version instead:
sh
sudo dnf install java-21-openjdk-headlessIf you plan to develop mods, you'll need the JDK instead:
sh
sudo dnf install java-21-openjdk-develOther Linux Distributions
If your distribution isn't listed above, you can download the latest JRE from Adoptium
You should refer to an alternative guide for your distribution if you plan to develop mods.
3. Verify That Java 21 Is Installed
Once the installation is complete, you can verify that Java 21 is installed by opening a terminal and typing java -version.
If the command runs successfully, you will see something like shown before, where the Java version is displayed: