As your items grow more complex, you may find yourself needing to store custom data associated with each item. The game allows you to store persistent data within an ItemStack, and as of 1.20.5 the way we do that is by using Data Components.
Data Components replace NBT data from previous versions with structured data types which can be applied to an ItemStack to store persistent data about that stack. Data components are namespaced, meaning we can implement our own data components to store custom data about an ItemStack and access it later. A full list of the vanilla data components can be found on this Minecraft wiki page.
Along with registering custom components, this page covers the general usage of the components API, which also applies to vanilla components. You can see and access the definitions of all vanilla components in the DataComponents class.
Registering a Component
As with anything else in your mod you will need to register your custom component using a DataComponentType. This component type takes a generic argument containing the type of your component's value. We will be focusing on this in more detail further down when covering basic and advanced components.
Choose a sensible class to place this in. For this example we're going to make a new package called component and a class to contain all of our component types called ModComponents. Make sure you call ModComponents.initialize() in your mod's initializer.
public class ModComponents {
	protected static void initialize() {
		ExampleMod.LOGGER.info("Registering {} components", ExampleMod.MOD_ID);
		// Technically this method can stay empty, but some developers like to notify
		// the console, that certain parts of the mod have been successfully initialized
	}
}2
3
4
5
6
7
This is the basic template to register a component type:
public static final DataComponentType<?> MY_COMPONENT_TYPE = Registry.register(
    BuiltInRegistries.DATA_COMPONENT_TYPE,
    Identifier.fromNamespaceAndPath(ExampleMod.MOD_ID, "my_component"),
    DataComponentType.<?>builder().persistent(null).build()
);2
3
4
5
There are a few things here worth noting. On the first and fourth lines, you can see a ?. This will be replaced with the type of your component's value. We'll fill this in soon.
Secondly, you must provide an Identifier containing the intended ID of your component. This is namespaced with your mod's ID.
Lastly, we have a DataComponentType.Builder that creates the actual DataComponentType instance that's being registered. This contains another crucial detail we will need to discuss: your component's Codec. This is currently null but we will also fill it in soon.
Basic Data Components
Basic data components (like minecraft:damage) consist of a single data value, such as an int, float, boolean or String.
As an example, let's create an Integer value that will track how many times the player has right-clicked while holding our item. Let's update our component registration to the following:
public static final DataComponentType<Integer> CLICK_COUNT_COMPONENT = Registry.register(
		BuiltInRegistries.DATA_COMPONENT_TYPE,
		Identifier.fromNamespaceAndPath(ExampleMod.MOD_ID, "click_count"),
		DataComponentType.<Integer>builder().persistent(Codec.INT).build()
);2
3
4
5
You can see that we're now passing <Integer> as our generic type, indicating that this component will be stored as a single int value. For our codec, we are using the provided ExtraCodecs.POSITIVE_INT codec. We can get away with using basic codecs for simple components like this, but more complex scenarios might require a custom codec (this will be covered briefly later on).
If you start the game, you should be able to enter a command like this:

When you run the command, you should receive the item containing the component. However, we are not currently using our component to do anything useful. Let's start by reading the value of the component in a way we can see.
Reading Component Value
Let's add a new item which will increase the counter each time it is right clicked. You should read the Custom Item Interactions page which will cover the techniques we will use in this guide.
public class CounterItem extends Item {
	public CounterItem(Properties properties) {
		super(properties);
	}

}2
3
4
5
6
Remember as usual to register the item in your ModItems class.
public static final Item COUNTER = register("counter", CounterItem::new, new Item.Properties());We're going to add some tooltip code to display the current value of the click count when we hover over our item in the inventory. We can use the get() method on our ItemStack to get our component value like so:
int count = stack.get(ModComponents.CLICK_COUNT_COMPONENT);This will return the current component value as the type we defined when we registered our component. We can then use this value to add a tooltip entry. Add this line to the appendHoverText method in the CounterItem class:
public void appendHoverText(ItemStack stack, TooltipContext context, TooltipDisplay displayComponent, Consumer<Component> textConsumer, TooltipFlag type) {
  int count = stack.get(ModComponents.CLICK_COUNT_COMPONENT);
  textConsumer.accept(Component.translatable("item.example-mod.counter.info", count).withStyle(ChatFormatting.GOLD));
}2
3
4
Don't forget to update your lang file (/assets/example-mod/lang/en_us.json) and add these two lines:
{
  "item.example-mod.counter": "Counter",
  "item.example-mod.counter.info": "Used %1$s times"
}2
3
4
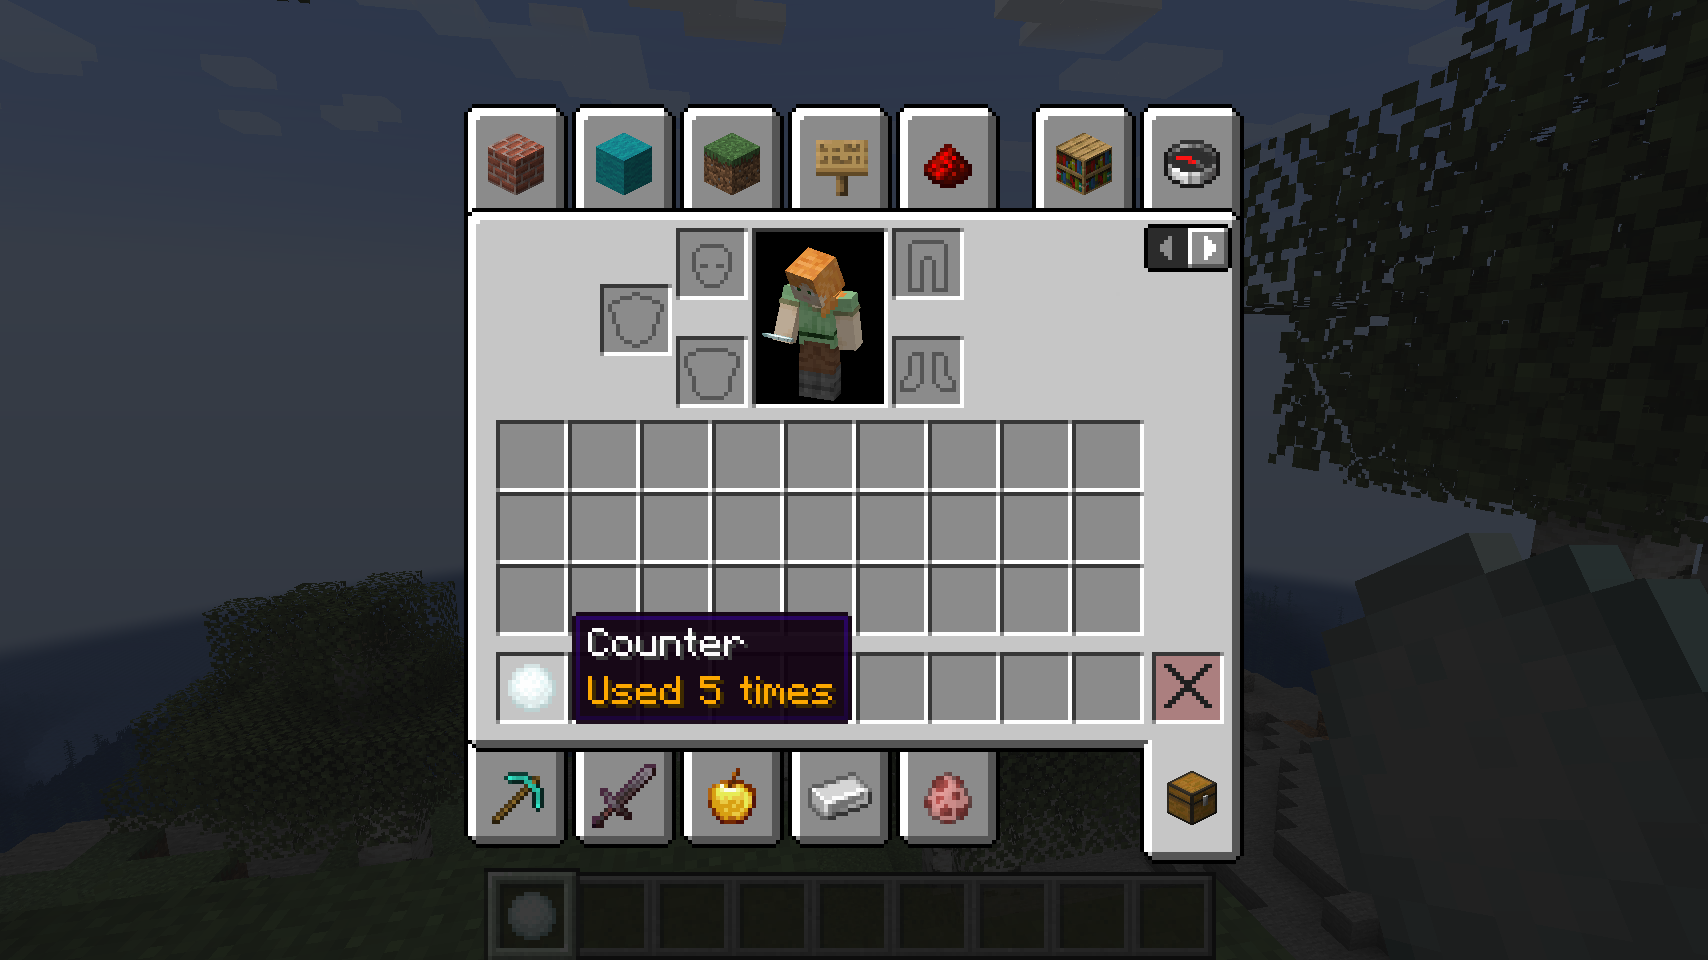
Start up the game and run this command to give yourself a new Counter item with a count of 5.
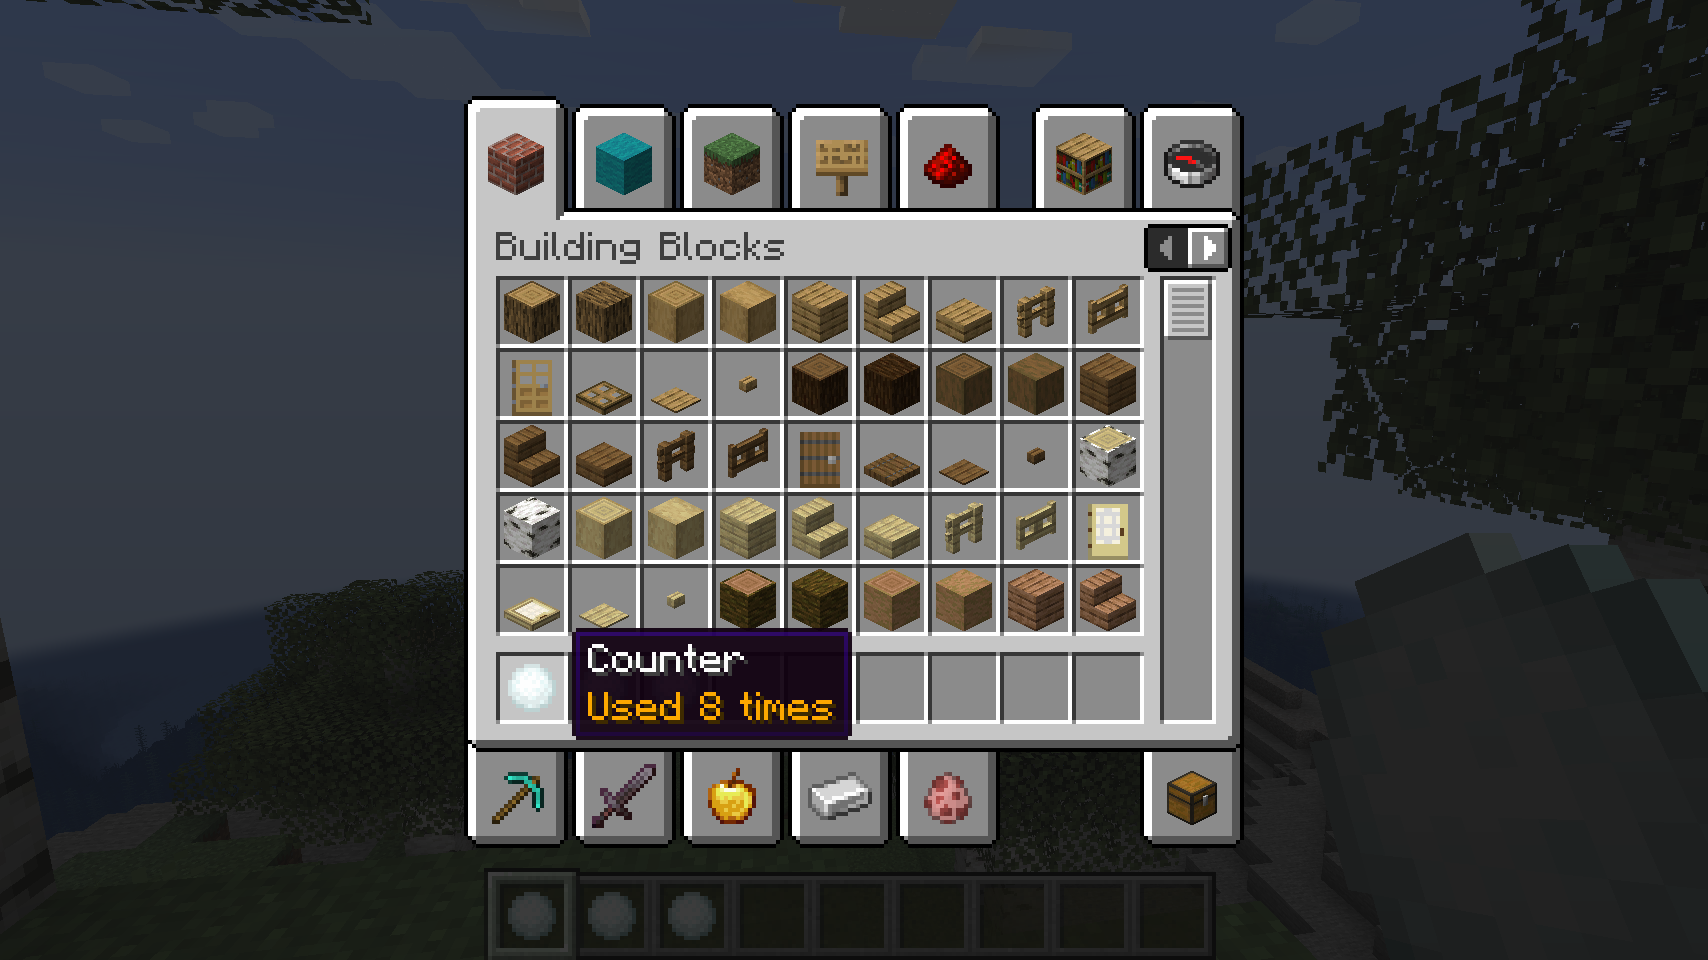
/give @p example-mod:counter[example-mod:click_count=5]When you hover over this item in your inventory, you should see the count displayed in the tooltip!
However, if you give yourself a new Counter item without the custom component, the game will crash when you hover over the item in your inventory. You should see an error like this in the crash report:
java.lang.NullPointerException: Cannot invoke "java.lang.Integer.intValue()" because the return value of "net.minecraft.world.item.ItemStack.get(net.minecraft.core.component.DataComponentType)" is null
        at com.example.docs.item.custom.CounterItem.appendHoverText(LightningStick.java:45)
at net.minecraft.world.item.ItemStack.getTooltipLines(ItemStack.java:767)2
3
As expected, since the ItemStack doesn't currently contain an instance of our custom component, calling stack.get() with our component type will return null.
There are three solutions we can use to address this problem.
Setting a Default Component Value
When you register your item and pass a Item.Properties object to your item constructor, you can also provide a list of default components that are applied to all new items. If we go back to our ModItems class, where we register the CounterItem, we can add a default value for our custom component. Add this so that new items display a count of 0.
public static final Item COUNTER = register(
		"counter",
		CounterItem::new,
		new Item.Properties()
				// Initialize the click count component with a default value of 0
				.component(ModComponents.CLICK_COUNT_COMPONENT, 0)
);2
3
4
5
6
7
When a new item is created, it will automatically apply our custom component with the given value.
WARNING
Using commands, it is possible to remove a default component from an ItemStack. You should refer to the next two sections to properly handle a scenario where the component is not present on your item.
Reading with a Default Value
In addition, when reading the component value, we can use the getOrDefault() method on our ItemStack object to return a specified default value if the component is not present on the stack. This will safeguard against any errors resulting from a missing component. We can adjust our tooltip code like so:
int count = stack.getOrDefault(ModComponents.CLICK_COUNT_COMPONENT, 0);As you can see, this method takes two arguments: our component type like before, and a default value to return if the component is not present.
Checking if a Component Exists
You can also check for the existence of a specific component on an ItemStack using the has() method. This takes the component type as an argument and returns true or false depending on whether the stack contains that component.
boolean exists = stack.has(ModComponents.CLICK_COUNT_COMPONENT);Fixing the Error
We're going to go with the third option. So along with adding a default component value, we'll also check if the component is present on the stack and only show the tooltip if it is.
public void appendHoverText(ItemStack stack, TooltipContext context, TooltipDisplay displayComponent, Consumer<Component> textConsumer, TooltipFlag type) {
	if (stack.has(ModComponents.CLICK_COUNT_COMPONENT)) {
		int count = stack.get(ModComponents.CLICK_COUNT_COMPONENT);
		textConsumer.accept(Component.translatable("item.example-mod.counter.info", count).withStyle(ChatFormatting.GOLD));
	}
}2
3
4
5
6
7
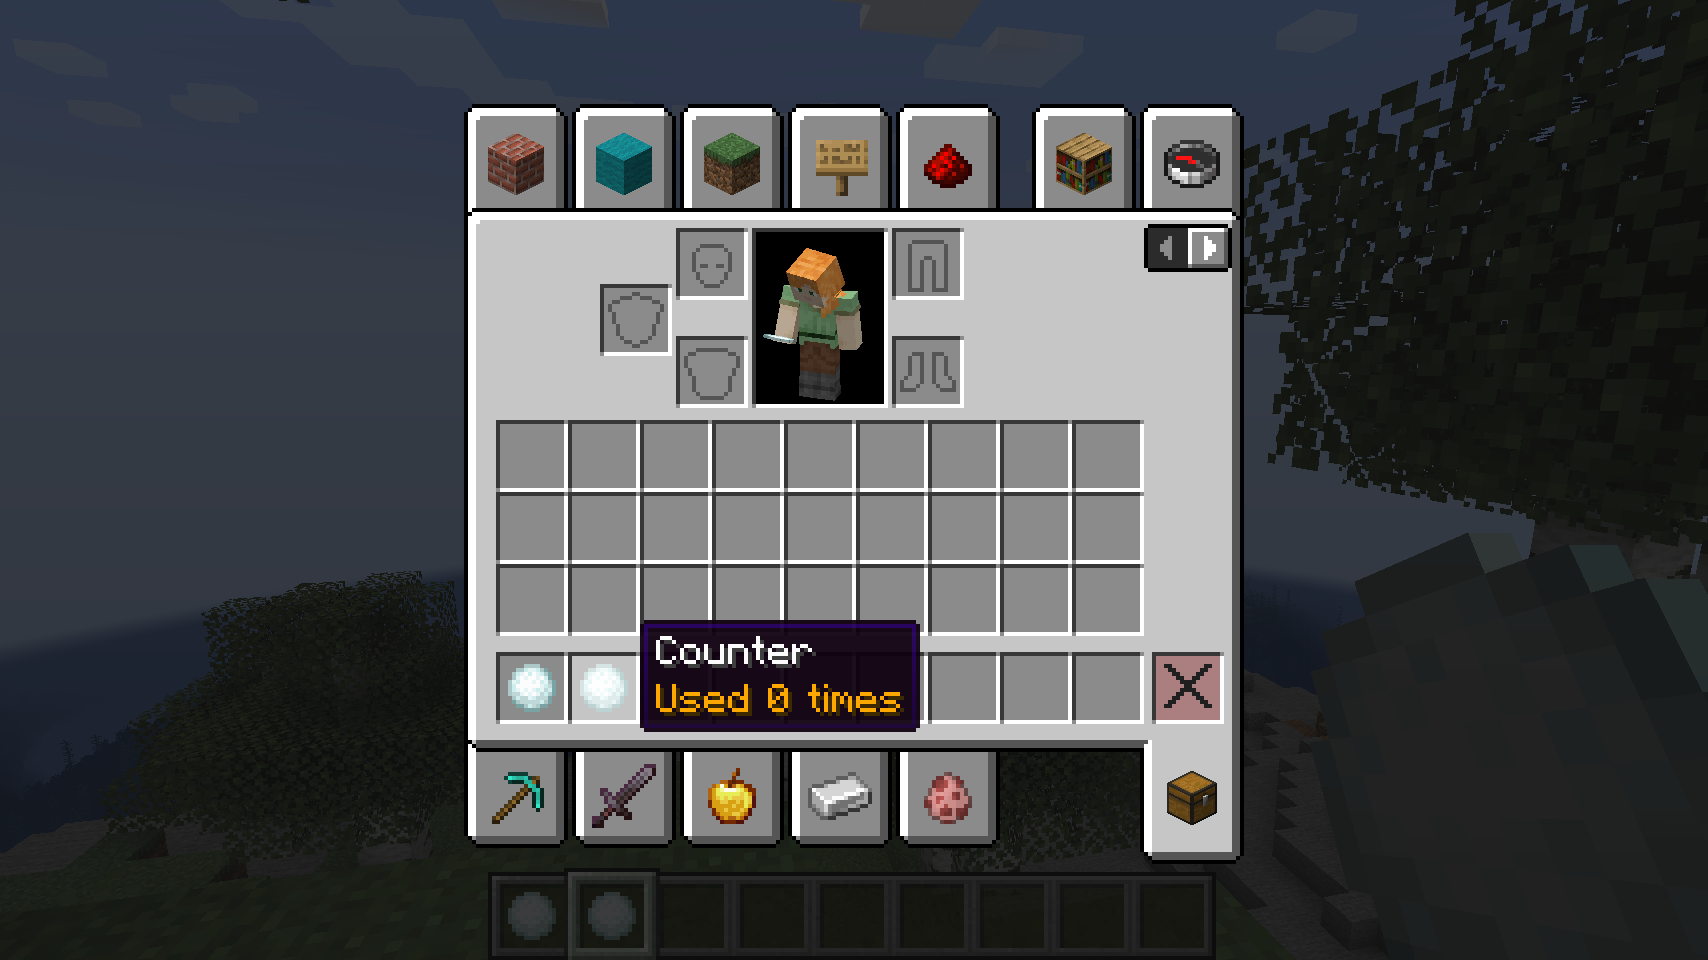
Start the game again and hover over the item without the component, you should see that it displays "Used 0 times" and no longer crashes the game.
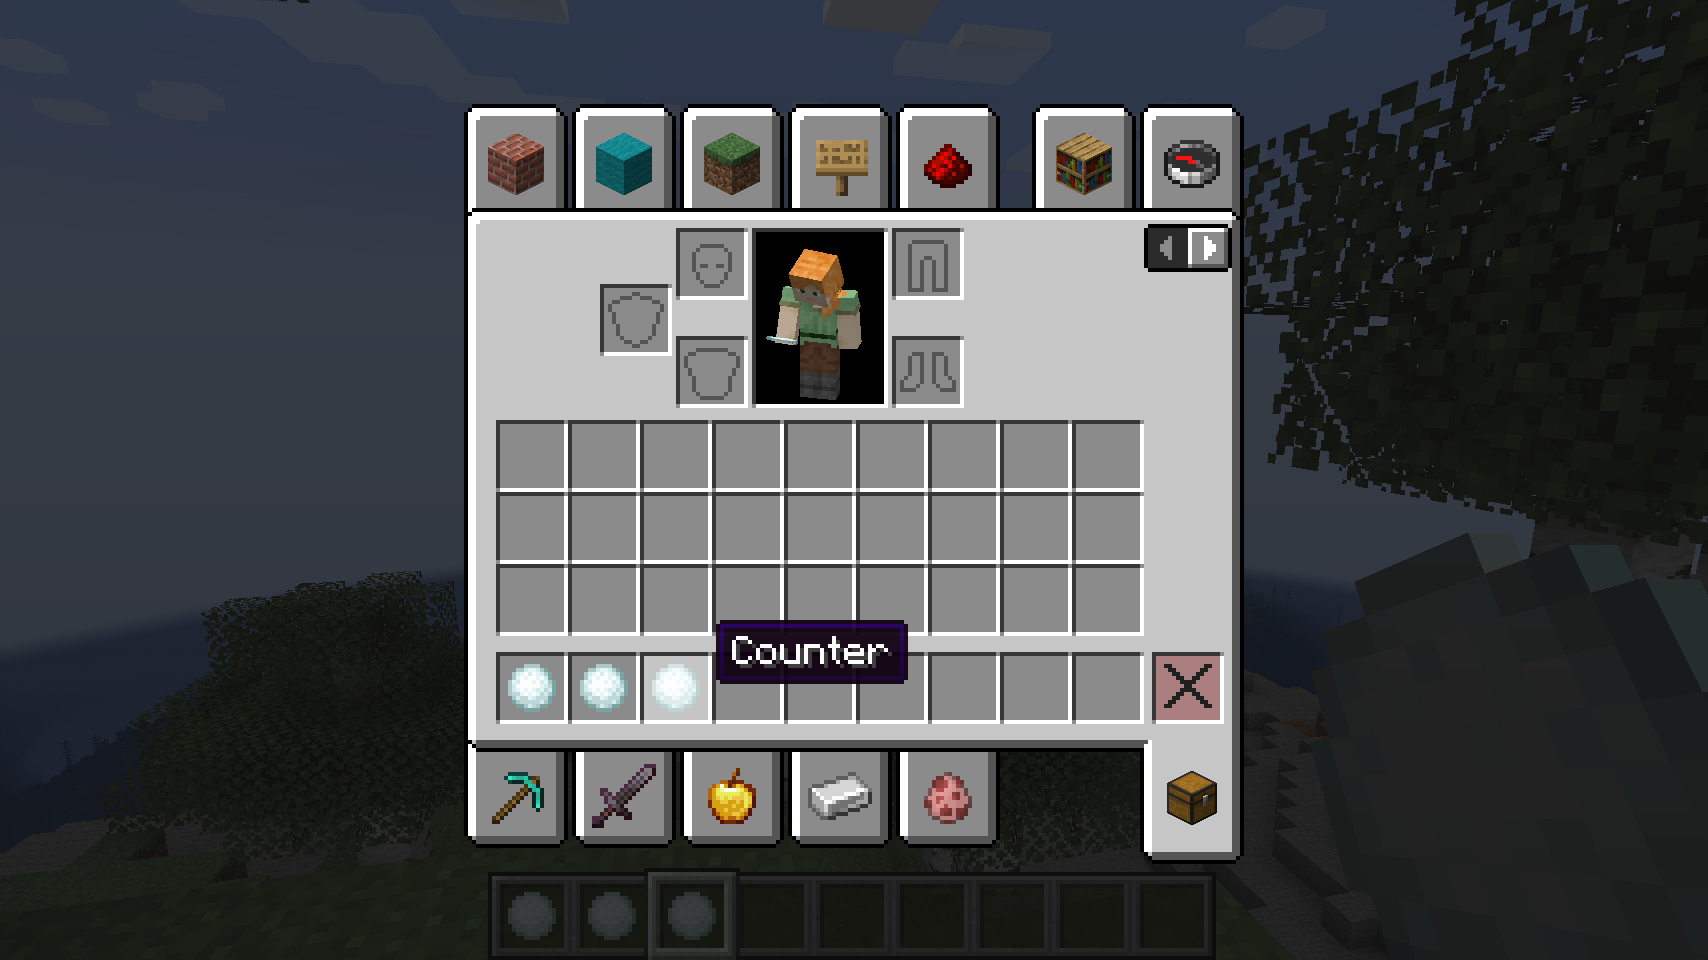
Try giving yourself a Counter with our custom component removed. You can use this command to do so:
/give @p example-mod:counter[!example-mod:click_count]When hovering over this item, the tooltip should be missing.
Updating Component Value
Now let's try updating our component value. We're going to increase the click count each time we use our Counter item. To change the value of a component on an ItemStack we use the set() method like so:
stack.set(ModComponents.CLICK_COUNT_COMPONENT, newValue);This takes our component type and the value we want to set it to. In this case it will be our new click count. This method also returns the old value of the component (if one is present) which may be useful in some situations. For example:
int oldValue = stack.set(ModComponents.CLICK_COUNT_COMPONENT, newValue);Let's set up a new use() method to read the old click count, increase it by one, and then set the updated click count.
public InteractionResult use(Level level, Player user, InteractionHand hand) {
	ItemStack stack = user.getItemInHand(hand);

	// Don't do anything on the client
	if (level.isClientSide()) {
		return InteractionResult.SUCCESS;
	}

	// Read the current count and increase it by one
	int count = stack.getOrDefault(ModComponents.CLICK_COUNT_COMPONENT, 0);
	stack.set(ModComponents.CLICK_COUNT_COMPONENT, ++count);

	return InteractionResult.SUCCESS;
}2
3
4
5
6
7
8
9
10
11
12
13
14
15
Now try starting the game and right-clicking with the Counter item in your hand. If you open up your inventory and look at the item again you should see that the usage number has gone up by the amount of times you've clicked it.
Removing Component Value
You can also remove a component from your ItemStack if it is no longer needed. This is done by using the remove() method, which takes in your component type.
stack.remove(ModComponents.CLICK_COUNT_COMPONENT);This method also returns the value of the component before being removed, so you can also use it as follows:
int oldCount = stack.remove(ModComponents.CLICK_COUNT_COMPONENT);Advanced Data Components
You may need to store multiple attributes in a single component. As a vanilla example, the minecraft:food component stores several values related to food, such as nutrition, saturation, eat_seconds and more. In this guide we'll refer to them as "composite" components.
For composite components, you must create a record class to store the data. This is the type we'll register in our component type and what we'll read and write when interacting with an ItemStack. Start by making a new record class in the component package we made earlier.
public record MyCustomComponent() {
}2
Notice that there's a set of brackets after the class name. This is where we define the list of properties we want our component to have. Let's add a float and a boolean called temperature and burnt respectively.
public record MyCustomComponent(float temperature, boolean burnt) {
}2
Since we are defining a custom data structure, there won't be a pre-existing Codec for our use case like with the basic component. This means we're going to have to construct our own codec. Let's define one in our record class using a RecordCodecBuilder which we can reference once we register the component. For more details on using a RecordCodecBuilder you can refer to this section of the Codecs page.
public static final Codec<MyCustomComponent> CODEC = RecordCodecBuilder.create(builder -> {
	return builder.group(
		Codec.FLOAT.fieldOf("temperature").forGetter(MyCustomComponent::temperature),
		Codec.BOOL.optionalFieldOf("burnt", false).forGetter(MyCustomComponent::burnt)
	).apply(builder, MyCustomComponent::new);
});2
3
4
5
6
You can see that we are defining a list of custom fields based on the primitive Codec types. However, we are also telling it what our fields are called using fieldOf(), and then using forGetter() to tell the game which attribute of our record to populate.
You can also define optional fields by using optionalFieldOf() and passing a default value as the second argument. Any fields not marked optional will be required when setting the component using /give so make sure you mark any optional arguments as such when creating your codec.
Finally, we call apply() and pass our record's constructor. For more details on how to construct codecs and more advanced use cases, be sure to read the Codecs page.
Registering a composite component is similar to before. We just pass our record class as the generic type, and our custom Codec to the codec() method.
public static final DataComponentType<MyCustomComponent> MY_CUSTOM_COMPONENT = Registry.register(
		BuiltInRegistries.DATA_COMPONENT_TYPE,
		Identifier.fromNamespaceAndPath(ExampleMod.MOD_ID, "custom"),
		DataComponentType.<MyCustomComponent>builder().persistent(MyCustomComponent.CODEC).build()
);2
3
4
5
Now start the game. Using the /give command, try applying the component. Composite component values are passed as an object enclosed with {}. If you put blank curly brackets, you'll see an error telling you that the required key temperature is missing.

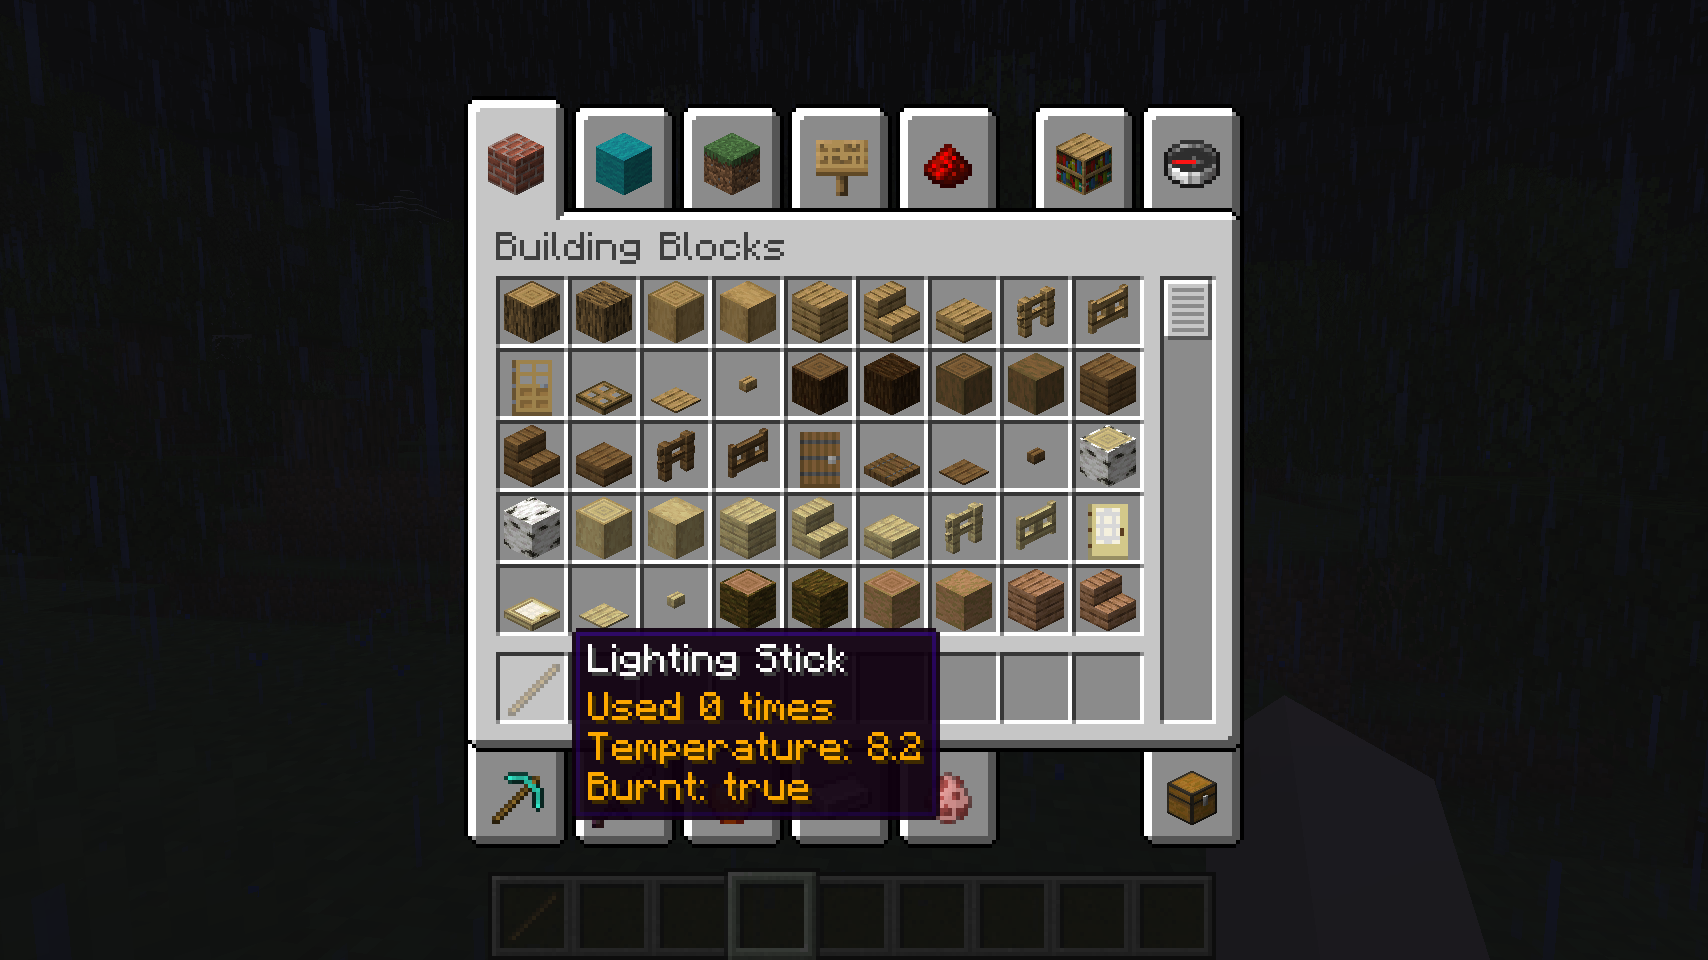
Add a temperature value to the object using the syntax temperature:8.2. You can also optionally pass a value for burnt using the same syntax but either true or false. You should now see that the command is valid, and can give you an item containing the component.

Getting, Setting and Removing Advanced Components
Using the component in code is the same as before. Using stack.get() will return an instance of your record class, which you can then use to read the values. Since records are read-only, you will need to create a new instance of your record to update the values.
// read values of component
MyCustomComponent comp = stack.get(ModComponents.MY_CUSTOM_COMPONENT);
float temp = comp.temperature();
boolean burnt = comp.burnt();

// set new component values
stack.set(ModComponents.MY_CUSTOM_COMPONENT, new MyCustomComponent(8.4f, true));

// check for component
if (stack.contains(ModComponents.MY_CUSTOM_COMPONENT)) {
    // do something
}

// remove component
stack.remove(ModComponents.MY_CUSTOM_COMPONENT);2
3
4
5
6
7
8
9
10
11
12
13
14
15
You can also set a default value for a composite component by passing a component object to your Item.Properties. For example:
public static final Item COUNTER = register(
    "counter",
    CounterItem::new,
    new Item.Properties().component(ModComponents.MY_CUSTOM_COMPONENT, new MyCustomComponent(0.0f, false))
);2
3
4
5
Now you can store custom data on an ItemStack. Use responsibly!
