
绘制到 GUI 26.1.2
学习如何使用 GuiGraphics 类来渲染各种形状、文本和纹理。
本文假设您已经看过基本渲染概念。
GuiGraphics 类是用于在游戏内渲染的主类, 用于渲染形状、文本和纹理,并且如前所述,用于操作 PoseStack 和使用 BufferBuilder。
绘制形状
使用 GuiGraphics 绘制基于矩形的形状十分容易。 如果想绘制三角形或其他非矩形的图形,需要使用 BufferBuilder。
绘制矩形
可以使用 GuiGraphics.fill(...) 方法绘制填充矩形。
java
No lines matched.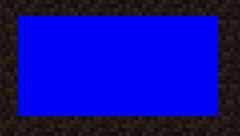
绘制轮廓/边框
假设我们想勾勒出刚刚绘制的矩形的轮廓。 我们可以使用 GuiGraphics.renderOutline(...) 方法来绘制轮廓。
java
No lines matched.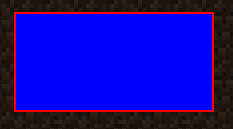
绘制独立线条
我们可以使用 GuiGraphics.hLine(...) 和 DrawContext.vLine(...) 方法来绘制线条。
java
No lines matched.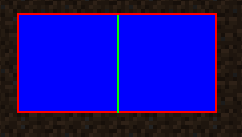
裁剪管理器
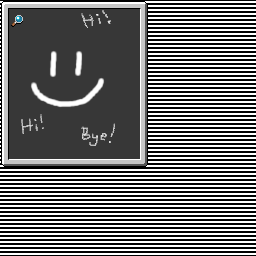
GuiGraphics 类内置了裁剪管理器。 可以用来把渲染裁剪为特定区域。 这个功能在绘制某些元素时十分有用,比如悬浮提示,或者其他不应该超出指定渲染区域的界面元素。
使用裁剪管理器
TIP
裁剪区域可以嵌套! 但是请一定配对 enableScissor 和 disableScissor,否则错误的裁剪区域将影响到其他界面元素。
要启用裁剪管理器,只需使用 GuiGraphics.enableScissor(...) 方法。 同样地,要禁用裁剪管理器,则使用 GuiGraphics.disableScissor() 方法。
java
No lines matched.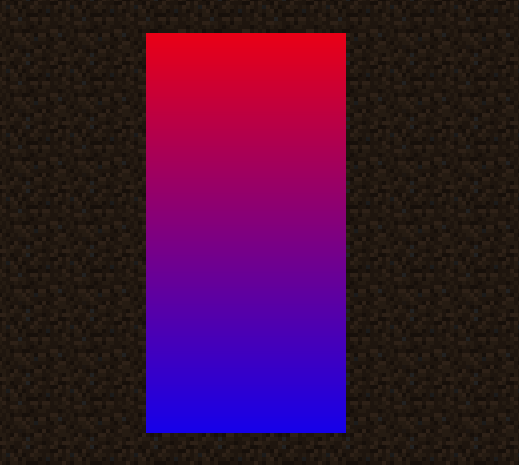
如您所见,即使我们告诉游戏用渐变色铺满整个屏幕,也只在裁剪区域内渲染。
绘制纹理
在屏幕上绘制纹理没有唯一的“正确”方法,因为 blit(...) 方法有很多不同的重载。 本节内容只会涵盖最常用的方法。
绘制整个纹理
一般来说,我们推荐您使用需要指定 textureWidth 和 textureHeight 参数的 drawTexture 方法重载。 因为如果使用不指定的重载, GuiGraphics 会假设你的纹理文件尺寸是 256x256,而你的纹理文件不一定是这个尺寸,于是渲染结果就不一定正确。
你还需要指定纹理将使用的渲染管线。 对于基本纹理,这通常始终是 RenderPipelines.GUI_TEXTURED。
java
No lines matched.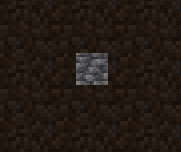
绘制纹理的一部分
在这个情形中,我们需要指定纹理区域的 u 和 v。 这俩参数用于指定纹理区域左上角的坐标。另外,regionWidth 和 regionHeight 参数用于指定纹理区域的尺寸。
我们以此纹理为例。
如果我们只希望绘制包含放大镜的区域,我们可以使用如下 u、v、regionWidth、regionHeight 值:
java
No lines matched.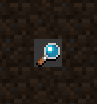
绘制文本
GuiGraphics 类具有各种文本渲染方法,都解释得很清楚——为了简洁起见,此处不再赘述。
假设我们想在屏幕中绘制“Hello World”。 我们可以使用 GuiGraphics.drawString(...) 方法来实现这一点。
INFO
Minecraft 1.21.6 及以上版本将文本颜色从 RGB 更改为 ARGB。 传递 RGB 值会导致文本渲染透明。 移植过程中,可以使用类似 ARGB.opaque(...) 的辅助方法将 RGB 更改为 ARGB。
java
No lines matched.