自定义组件 26.1.2
学习如何给您的界面创建自定义组件。
组件本质上是容器化的界面元素,可以被添加到屏幕中供玩家交互,交互方式包括鼠标点击、键盘输入等。
创建组件
有很多种创建组件的方式,例如继承 AbstractWidget。 这个类提供了许多实用功能,比如控制组件的尺寸和位置,以及接收用户输入事件。事实上这些功能由 Renderable、GuiEventListener、NarrationSupplier 和 NarratableEntry 接口规定:
Renderable- 用于渲染,需要通过addRenderableWidget方法将组件注册到屏幕上。GuiEventListener- 用于事件,比如处理鼠标点击、按下按键等事件。NarrationSupplier- 用于辅助功能,让组件能够通过屏幕阅读器或其他辅助工具访问。NarratableEntry- 用于选择,实现此接口后组件可以由 Tab 键选中,这也有助于提高可访问性。
java
public class CustomWidget extends AbstractWidget {
public CustomWidget(int x, int y, int width, int height) {
super(x, y, width, height, Component.empty());
}
@Override
protected void extractWidgetRenderState(GuiGraphicsExtractor graphics, int mouseX, int mouseY, float delta) {
// We'll just draw a simple rectangle for now.
// x1, y1, x2, y2, startColor, endColor
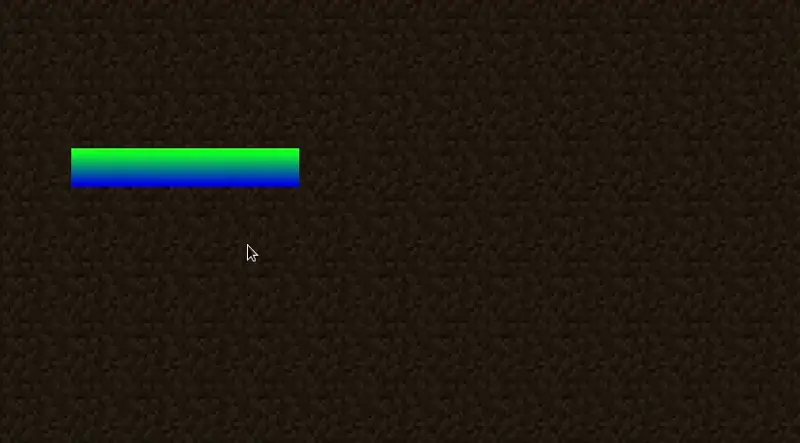
int startColor = 0xFF00FF00; // Green
int endColor = 0xFF0000FF; // Blue
graphics.fillGradient(getX(), getY(), getX() + this.width, getY() + this.height, startColor, endColor);
}
@Override
protected void updateWidgetNarration(NarrationElementOutput builder) {
// For brevity, we'll just skip this for now - if you want to add narration to your widget, you can do so here.
return;
}
}将组件添加到屏幕
与所有组件一样,你需要使用 Screen 类提供的 addRenderableWidget 方法将其添加到屏幕上。 请确保这一步在 Screen#init 方法中完成。
java
// Add a custom widget to the screen.
// x, y, width, height
CustomWidget customWidget = new CustomWidget(40, 80, 120, 20);
this.addRenderableWidget(customWidget);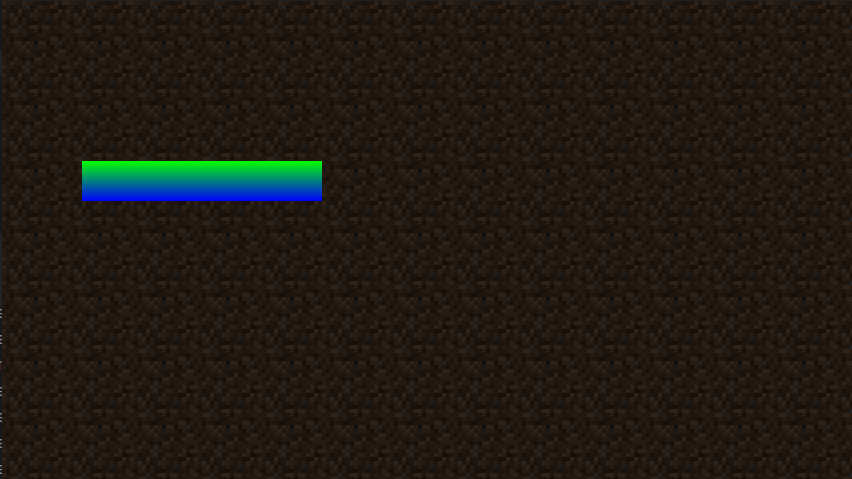
组件事件
你可以通过重写 mouseClicked、afterMouseAction、keyPressed 等方法来处理鼠标点击、按下按键等事件。
例如,你可以使用 AbstractWidget 类提供的 isHovered() 方法,使鼠标悬停在组件上时变色:
java
// This is in the "renderWidget" method, so we can check if the mouse is hovering over the widget.
if (isHovered()) {
	startColor = 0xFFFF0000; // Red
	endColor = 0xFF00FFFF; // Cyan
}