🇬🇧 English
🇬🇧 English
Appearance
This page is written for version:
1.21.8

This page is written for version:
1.21.8
IMPORTANT
While it is possible to develop mods using Visual Studio Code, we recommend against it. Consider using IntelliJ IDEA, which has dedicated Java tooling, advanced features and useful community-created plugins such as Minecraft Development.
PREREQUISITES
Make sure you've installed a JDK first.
You can download Visual Studio Code from code.visualstudio.com or through your preferred package manager.
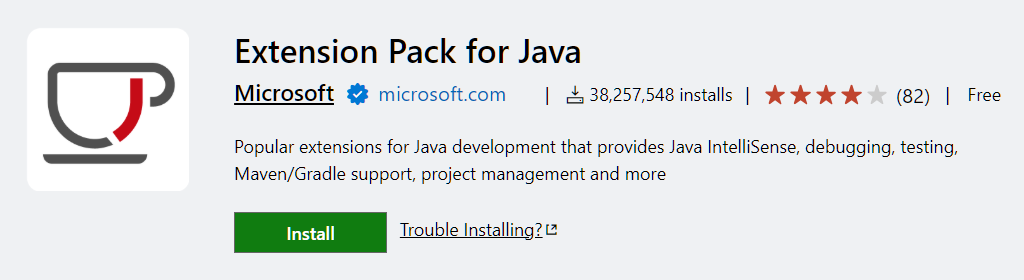
Visual Studio Code does not provide Java language support out of the box. However, Microsoft provides a convenient extension pack that contains all the necessary extensions to enable Java language support.
You can install this extension pack from Visual Studio Marketplace.
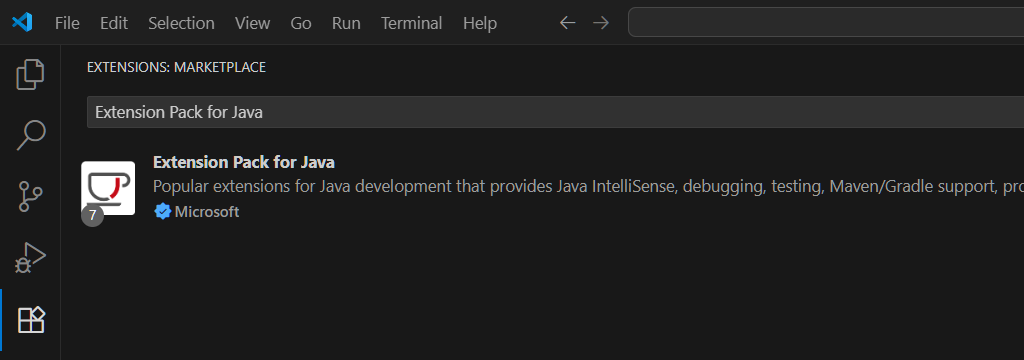
Or, within Visual Studio Code itself, through the Extensions view.
The Language Support for Java extension will present you with a startup screen to set up a JDK. You can do so if you have not already.
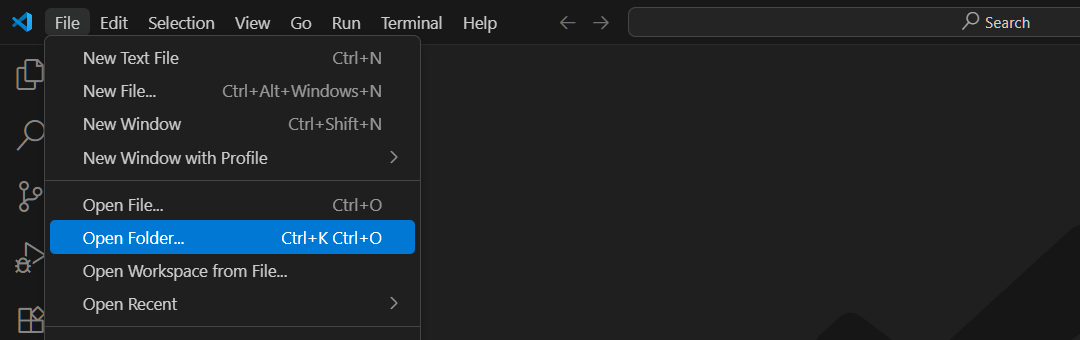
Assuming you already have a project, you can open it through File > Open Folder.
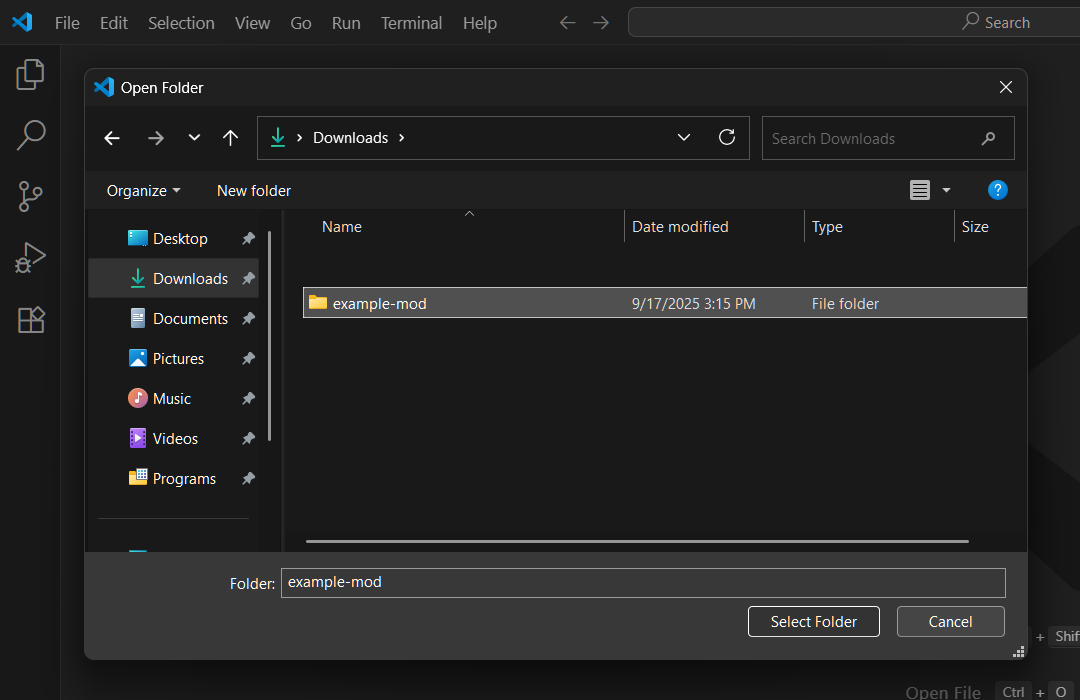
Then select the relevant folder from the folder picker.
You should see an indicator and a notification of the project import progress.

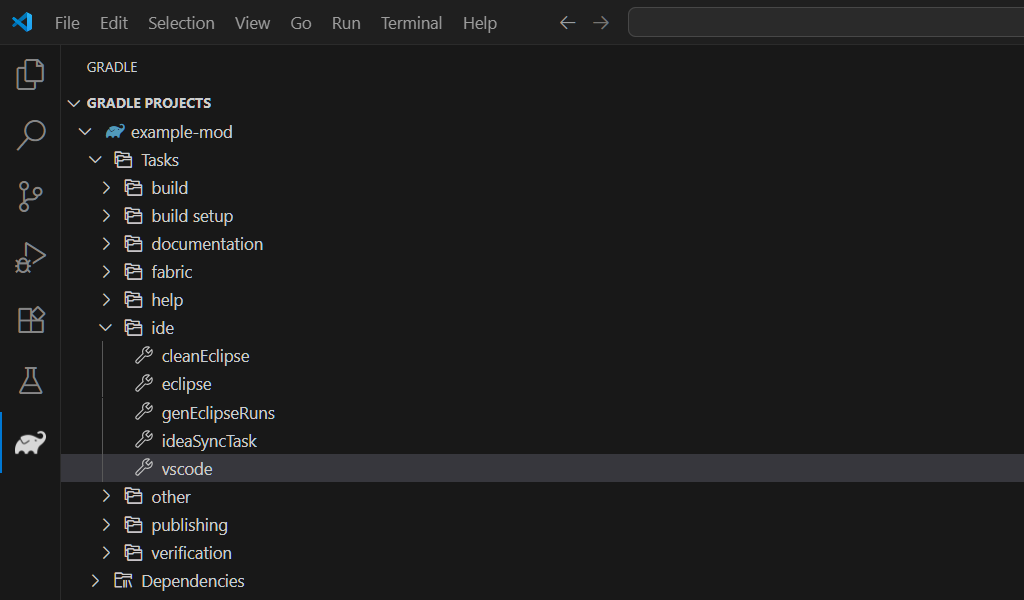
To run the game with debugging support enabled, you will need to generate launch targets by running the vscode Gradle task.
This can be done from the Gradle View from within Visual Studio Code: open it and navigate to the vscode task in Tasks > ide. Double click or use the Run Task button to execute the task.
Alternatively you can use the terminal directly: open a new terminal through Terminal > New Terminal and run:
./gradlew vscode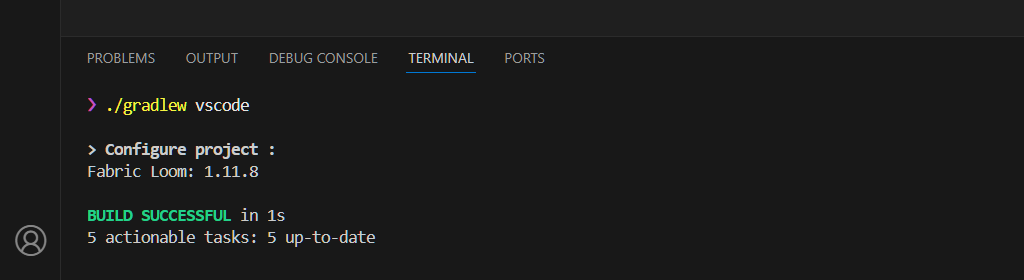
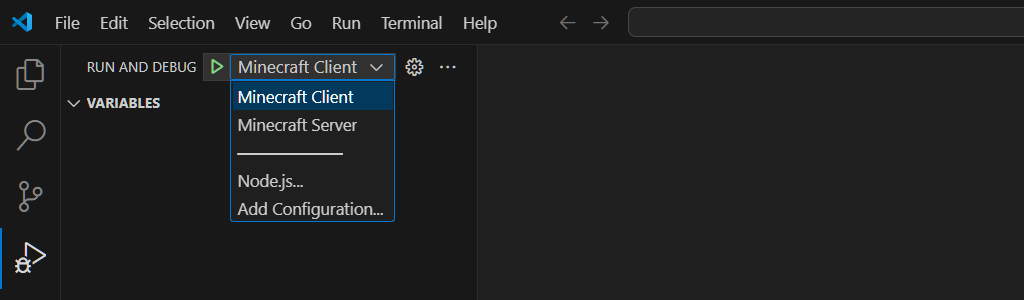
Once launch targets are generated, you can use them by opening the Run and Debug view, selecting the desired target and pressing the Start Debugging button (F5).
The Fabric toolchain lets you access the Minecraft source code by generating it locally, and you can use Visual Studio Code to conveniently navigate through it. To generate sources, you need to run the genSources Gradle task.
This can be done from the Gradle View like above, by running the genSources task in Tasks > fabric: 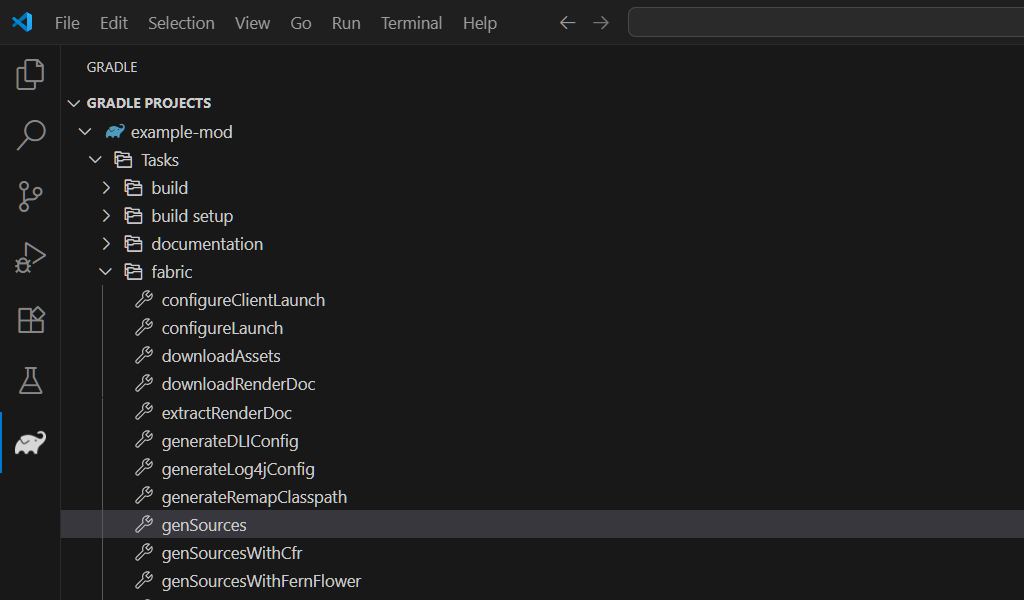
Or you can also run the command from the terminal:
./gradlew genSources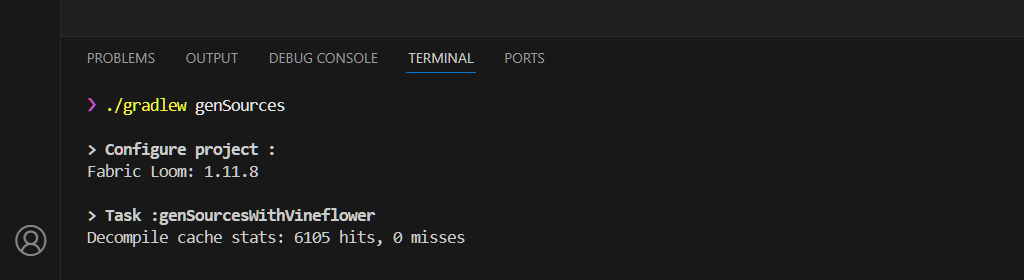
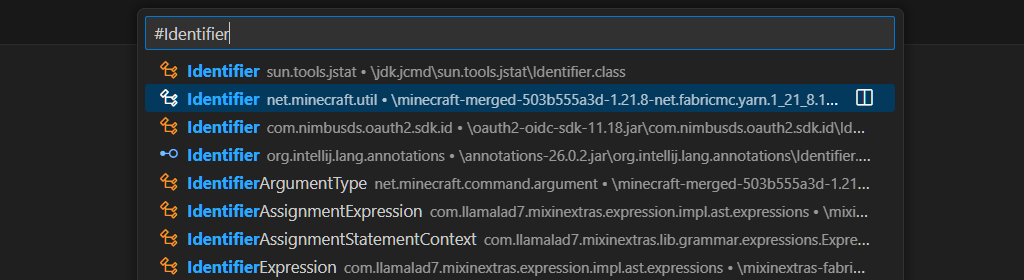
Once sources are generated. it should be possible for you to search or view Minecraft classes.
Quick Open (Ctrl+P): Type # followed by the class name (e.g. #Identifier).
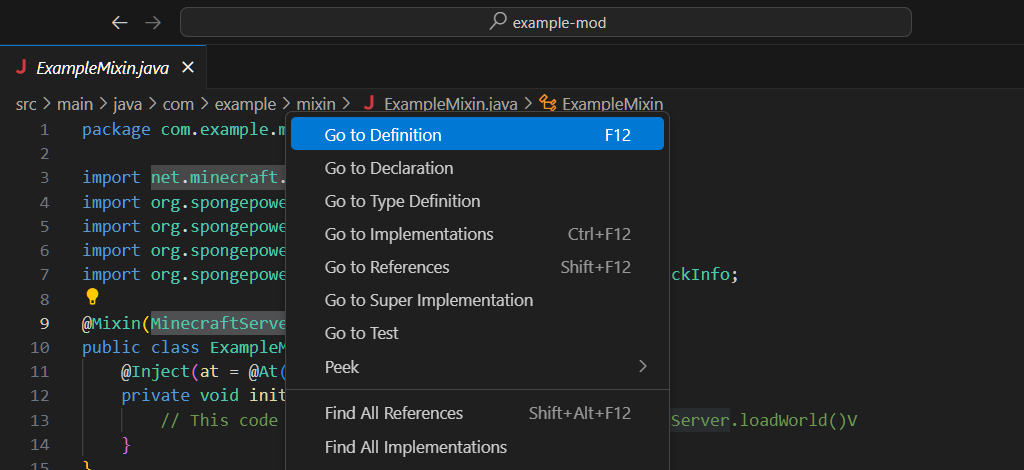
Go to Definition (F12): From source code, navigate to a class definition by Ctrl + clicking on its name, or by right-clicking it and selecting "Go to Definition".
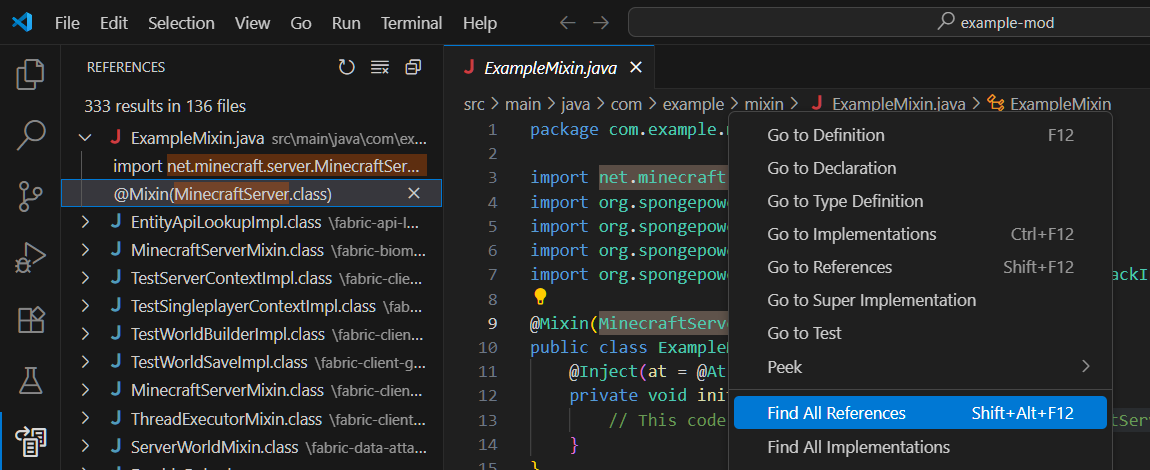
You can find all usages of a class by right-clicking on a class name and clicking Find All References.
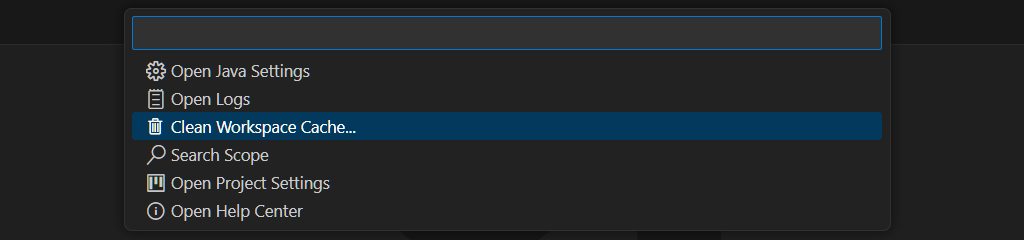
INFO
If the functions above do not work as expected, it's likely that sources are not attached properly. This can generally be fixed by cleaning up the workspace cache.

Viewing bytecode is necessary when writing mixins. However, Visual Studio Code lacks native support for bytecode viewing, and the few extensions which add it might not work.
In such case, you can use Java's inbuilt javap to view bytecode.
Locate the path to Minecraft JAR:
Open the Explorer view, expand the Java Projects section. Expand the Reference Libraries node in the project tree and locate a JAR with minecraft- in its name. Right-click on the JAR and copy the full path.
It might look something like this:
C:/project/.gradle/loom-cache/minecraftMaven/net/minecraft/minecraft-merged-503b555a3d/1.21.8-net.fabricmc.yarn.1_21_8.1.21.8+build.1-v2/minecraft-merged-503b555a3d-1.21.8-net.fabricmc.yarn.1_21_8.1.21.8+build.1-v2.jar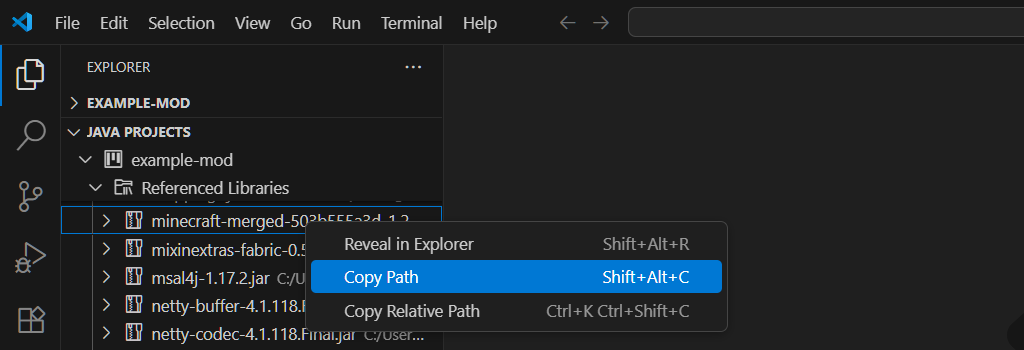
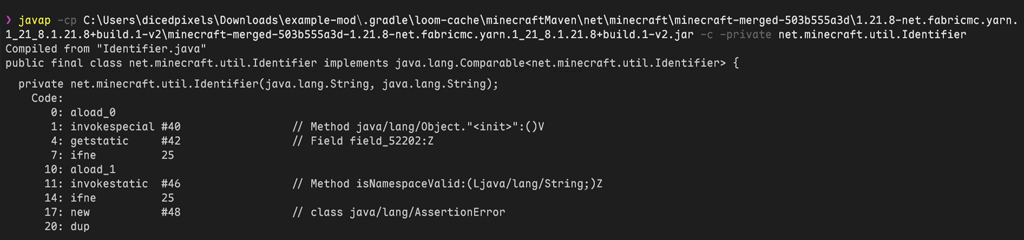
Run javap:
You can then run javap by providing the above path as the cp (class path) and the fully qualified class name as the final argument.
javap -cp C:/project/.gradle/loom-cache/minecraftMaven/net/minecraft/minecraft-merged-503b555a3d/1.21.8-net.fabricmc.yarn.1_21_8.1.21.8+build.1-v2/minecraft-merged-503b555a3d-1.21.8-net.fabricmc.yarn.1_21_8.1.21.8+build.1-v2.jar -c -private net.minecraft.util.IdentifierThis will print the bytecode in your terminal output.